

Creating the vision in real life.
The first time I wanted to play guitar, was while watching a 1980s rock and roll documentary that my parents found on the tv. As I watched the bands perform on stage, their electrifying energy and enthusiasm sparked something within me. I desperately yearned to create that same magic myself. When I finally got my hands on my first guitar, however, the squeals and distortion that had captivated me were frustratingly out of reach. My frustration eventually led me to put down the guitar for a long time.Many years later, long after playing bass in my brother's metal band (which ultimately disbanded), I found myself drawn back to music once again. I missed the metal band and I missed playing music. So I purchased a new bass and enjoyed playing it for a time, but soon sought to challenge myself with a 6-string electric guitar. Now equipped with a lot more wisdom than I had as a kid. I started learning songs, soon found the distorted sound I liked so much wasn't that hard to get. Moreover, I found that my hands and mind could learn remarkable things as long as I dedicated just half an hour of practice each day.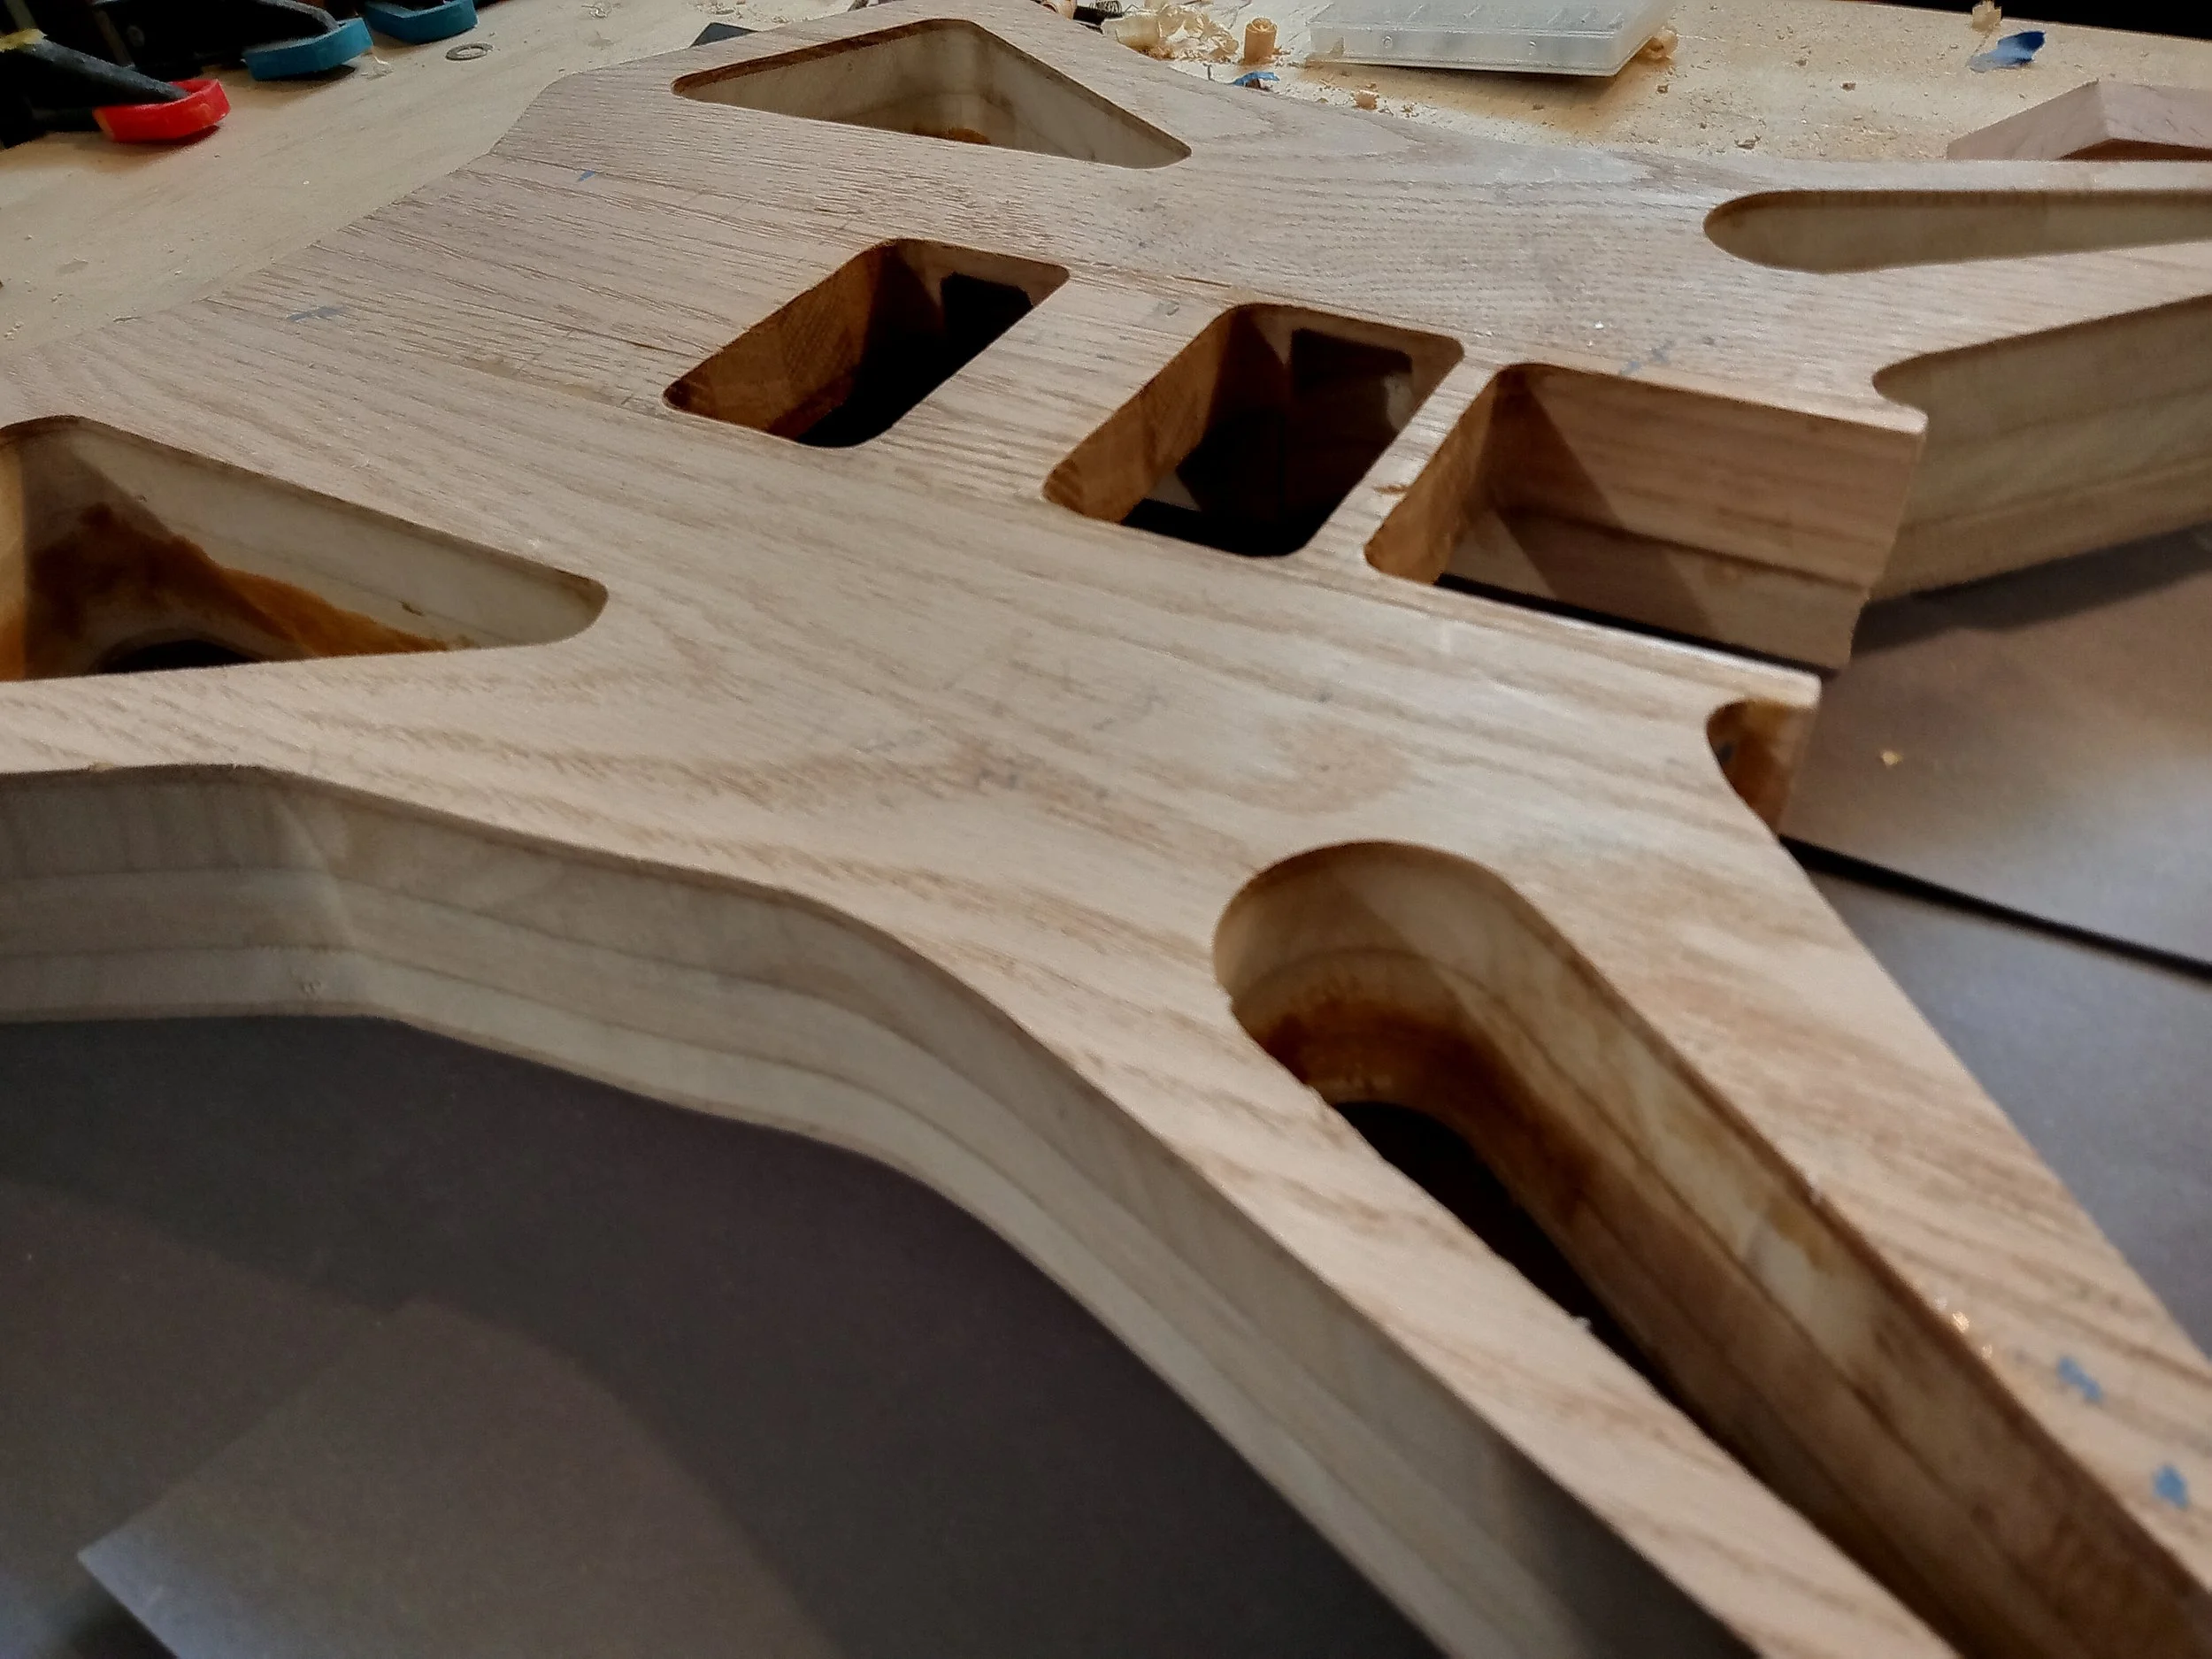
As I learned songs and practiced regularly, I realized that mastering guitar wasn't going to happen overnight. Despite the setbacks, my curiosity grew, and I began contemplating ways to enhance the instrument itself. My mind was brimming with ideas, many of which I eagerly tested. While not all of them were successful, each attempt taught me valuable lessons. With every iteration, I refined my techniques, gradually crafting a better guitar than the last. The process captivated me, and soon, building guitars became an all-consuming passion.
For my latest guitar build, I chose to combine paulownia wood and oak for the body, creating a sandwich configuration that promised both strength and lightness. To achieve the desired shape, I used a template I'd meticulously crafted to guide me through the routing process. After much sanding and preparation, the wood was ready for paint – but first, I had an idea to enhance the paulownia's durability using wood glue and water. Taking an off-cut from my material, I tested my concept of hardening the wood. To my delight, it worked – while not as resilient as stone, the treated paulownia possessed a newfound hardness.However, I couldn't shake off the apprehension building up inside me as I prepared for the paint job. The complex shape of the body makes it no ordinary paint job. It wasn't long before I stumbled upon a remarkable technique from a Japanese master craftsman. Inspired, I developed a hybrid approach that promised to elevate my painting game.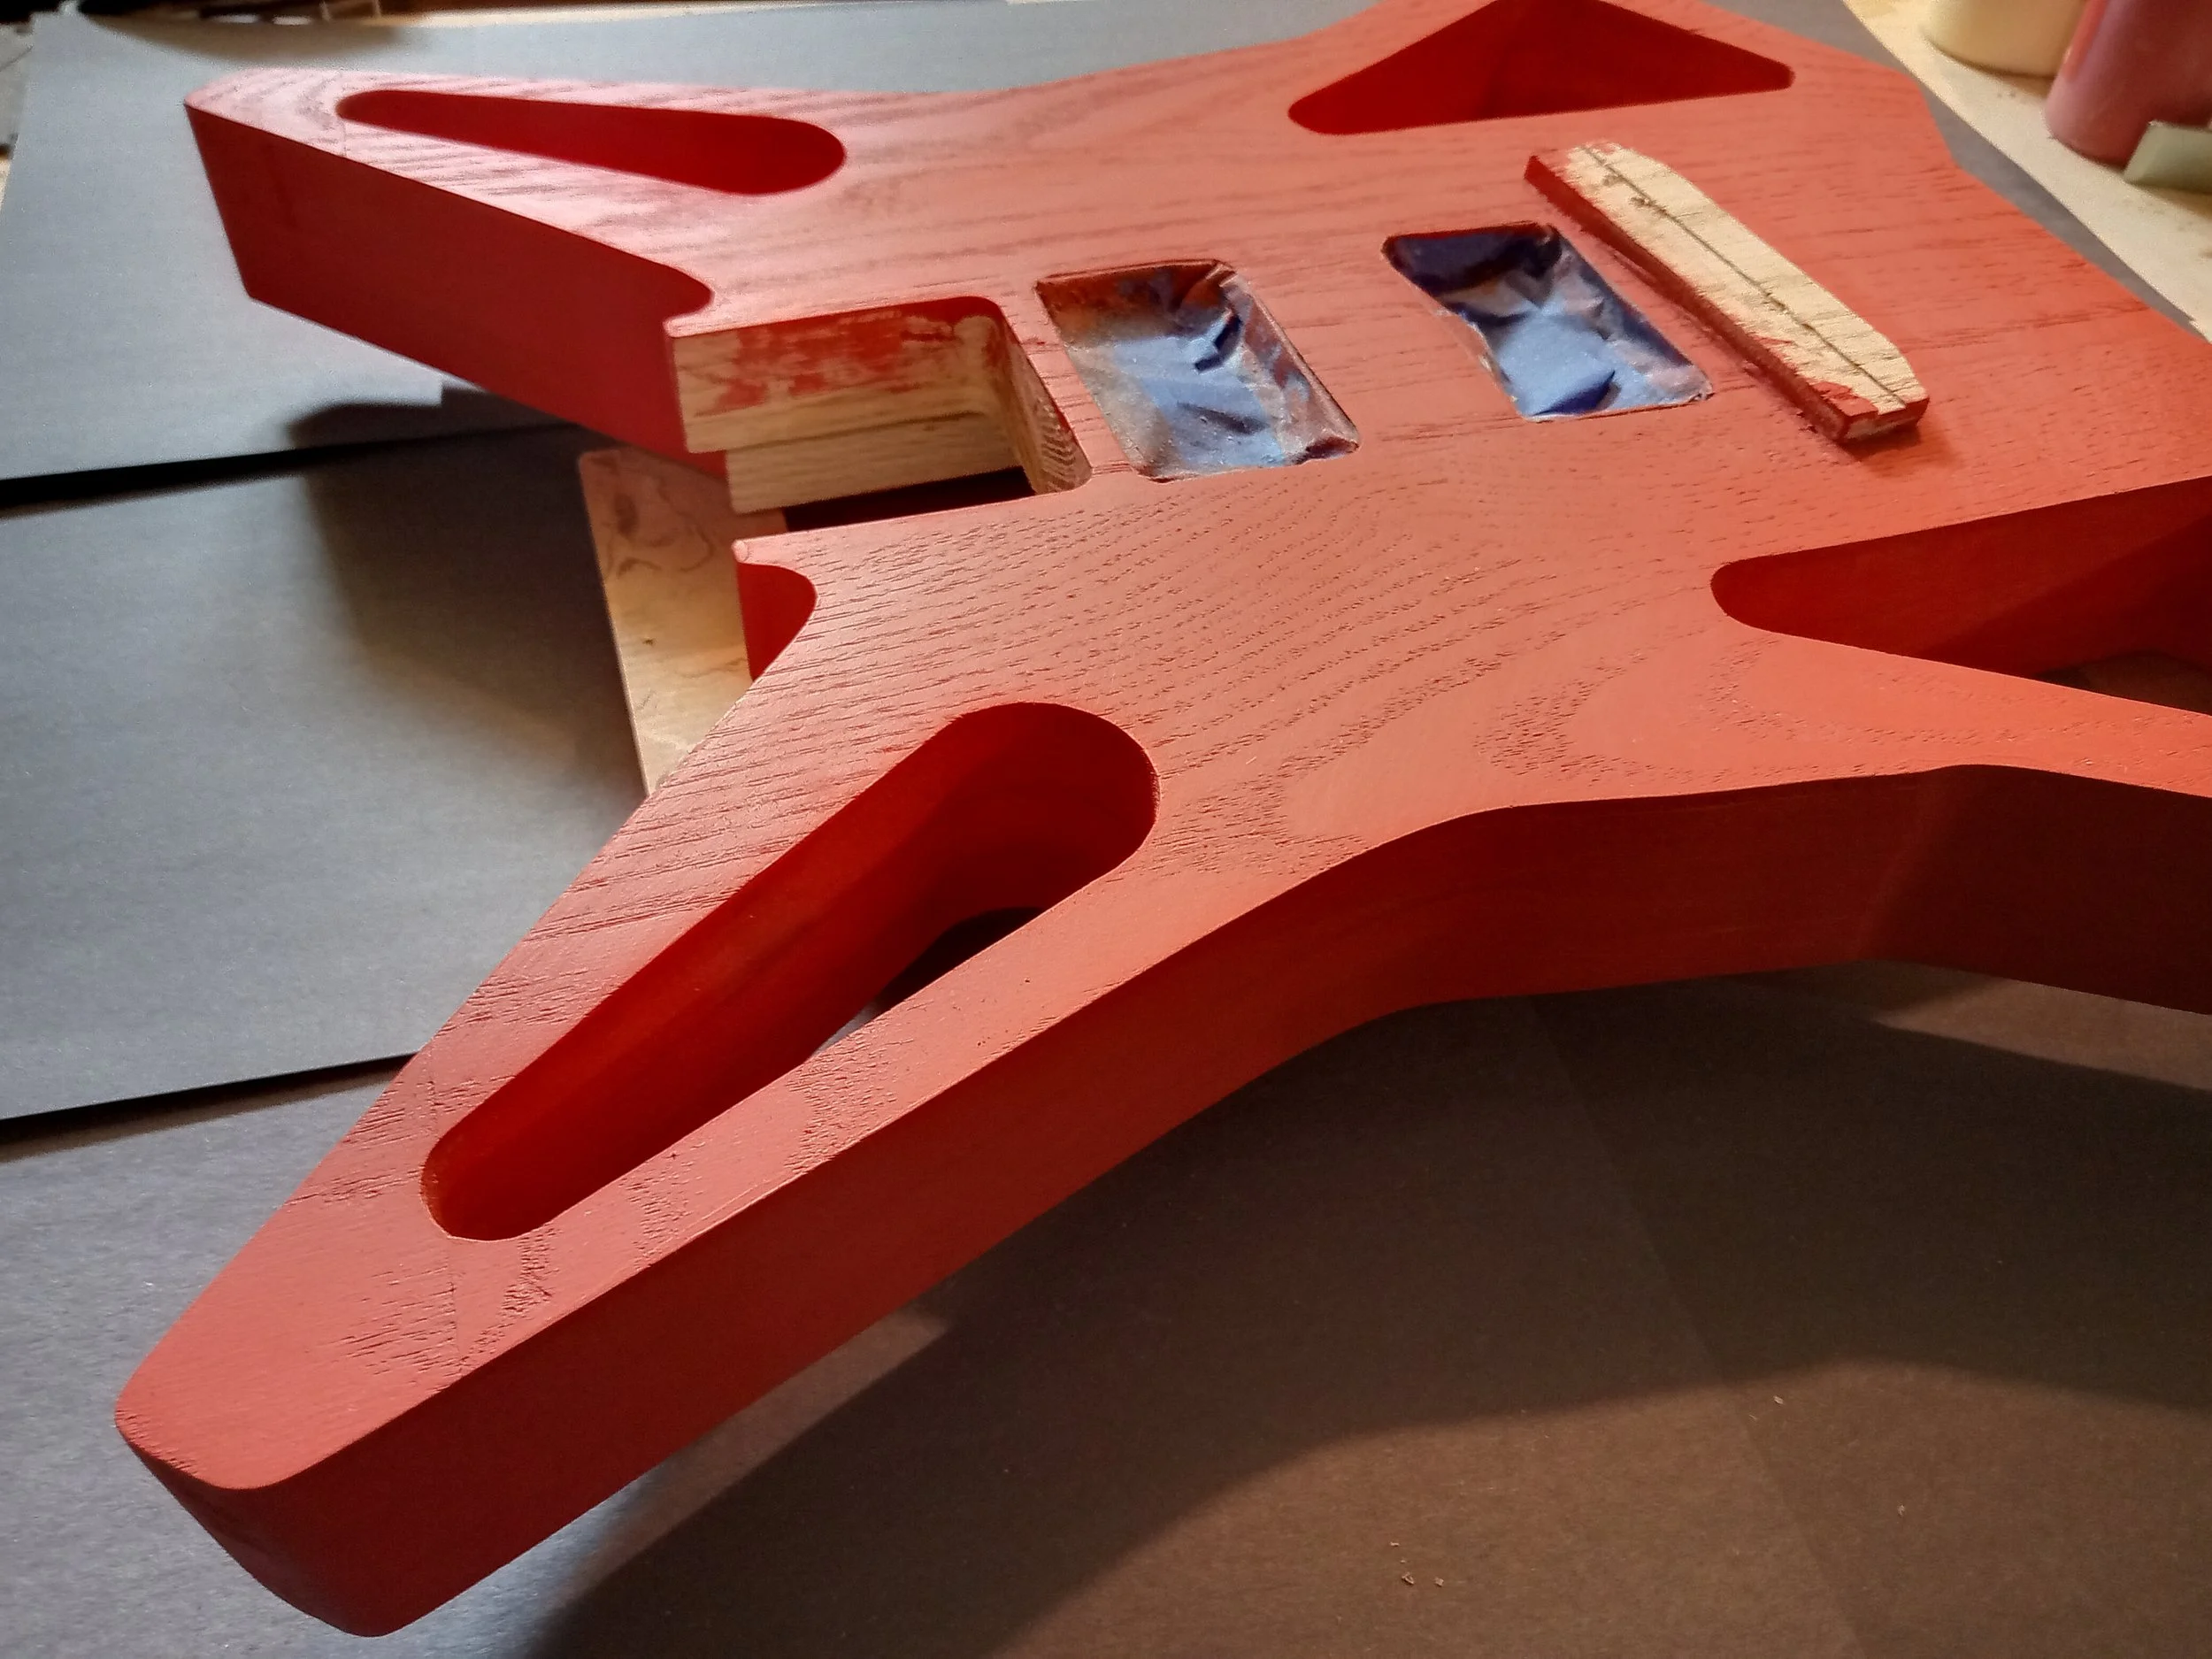
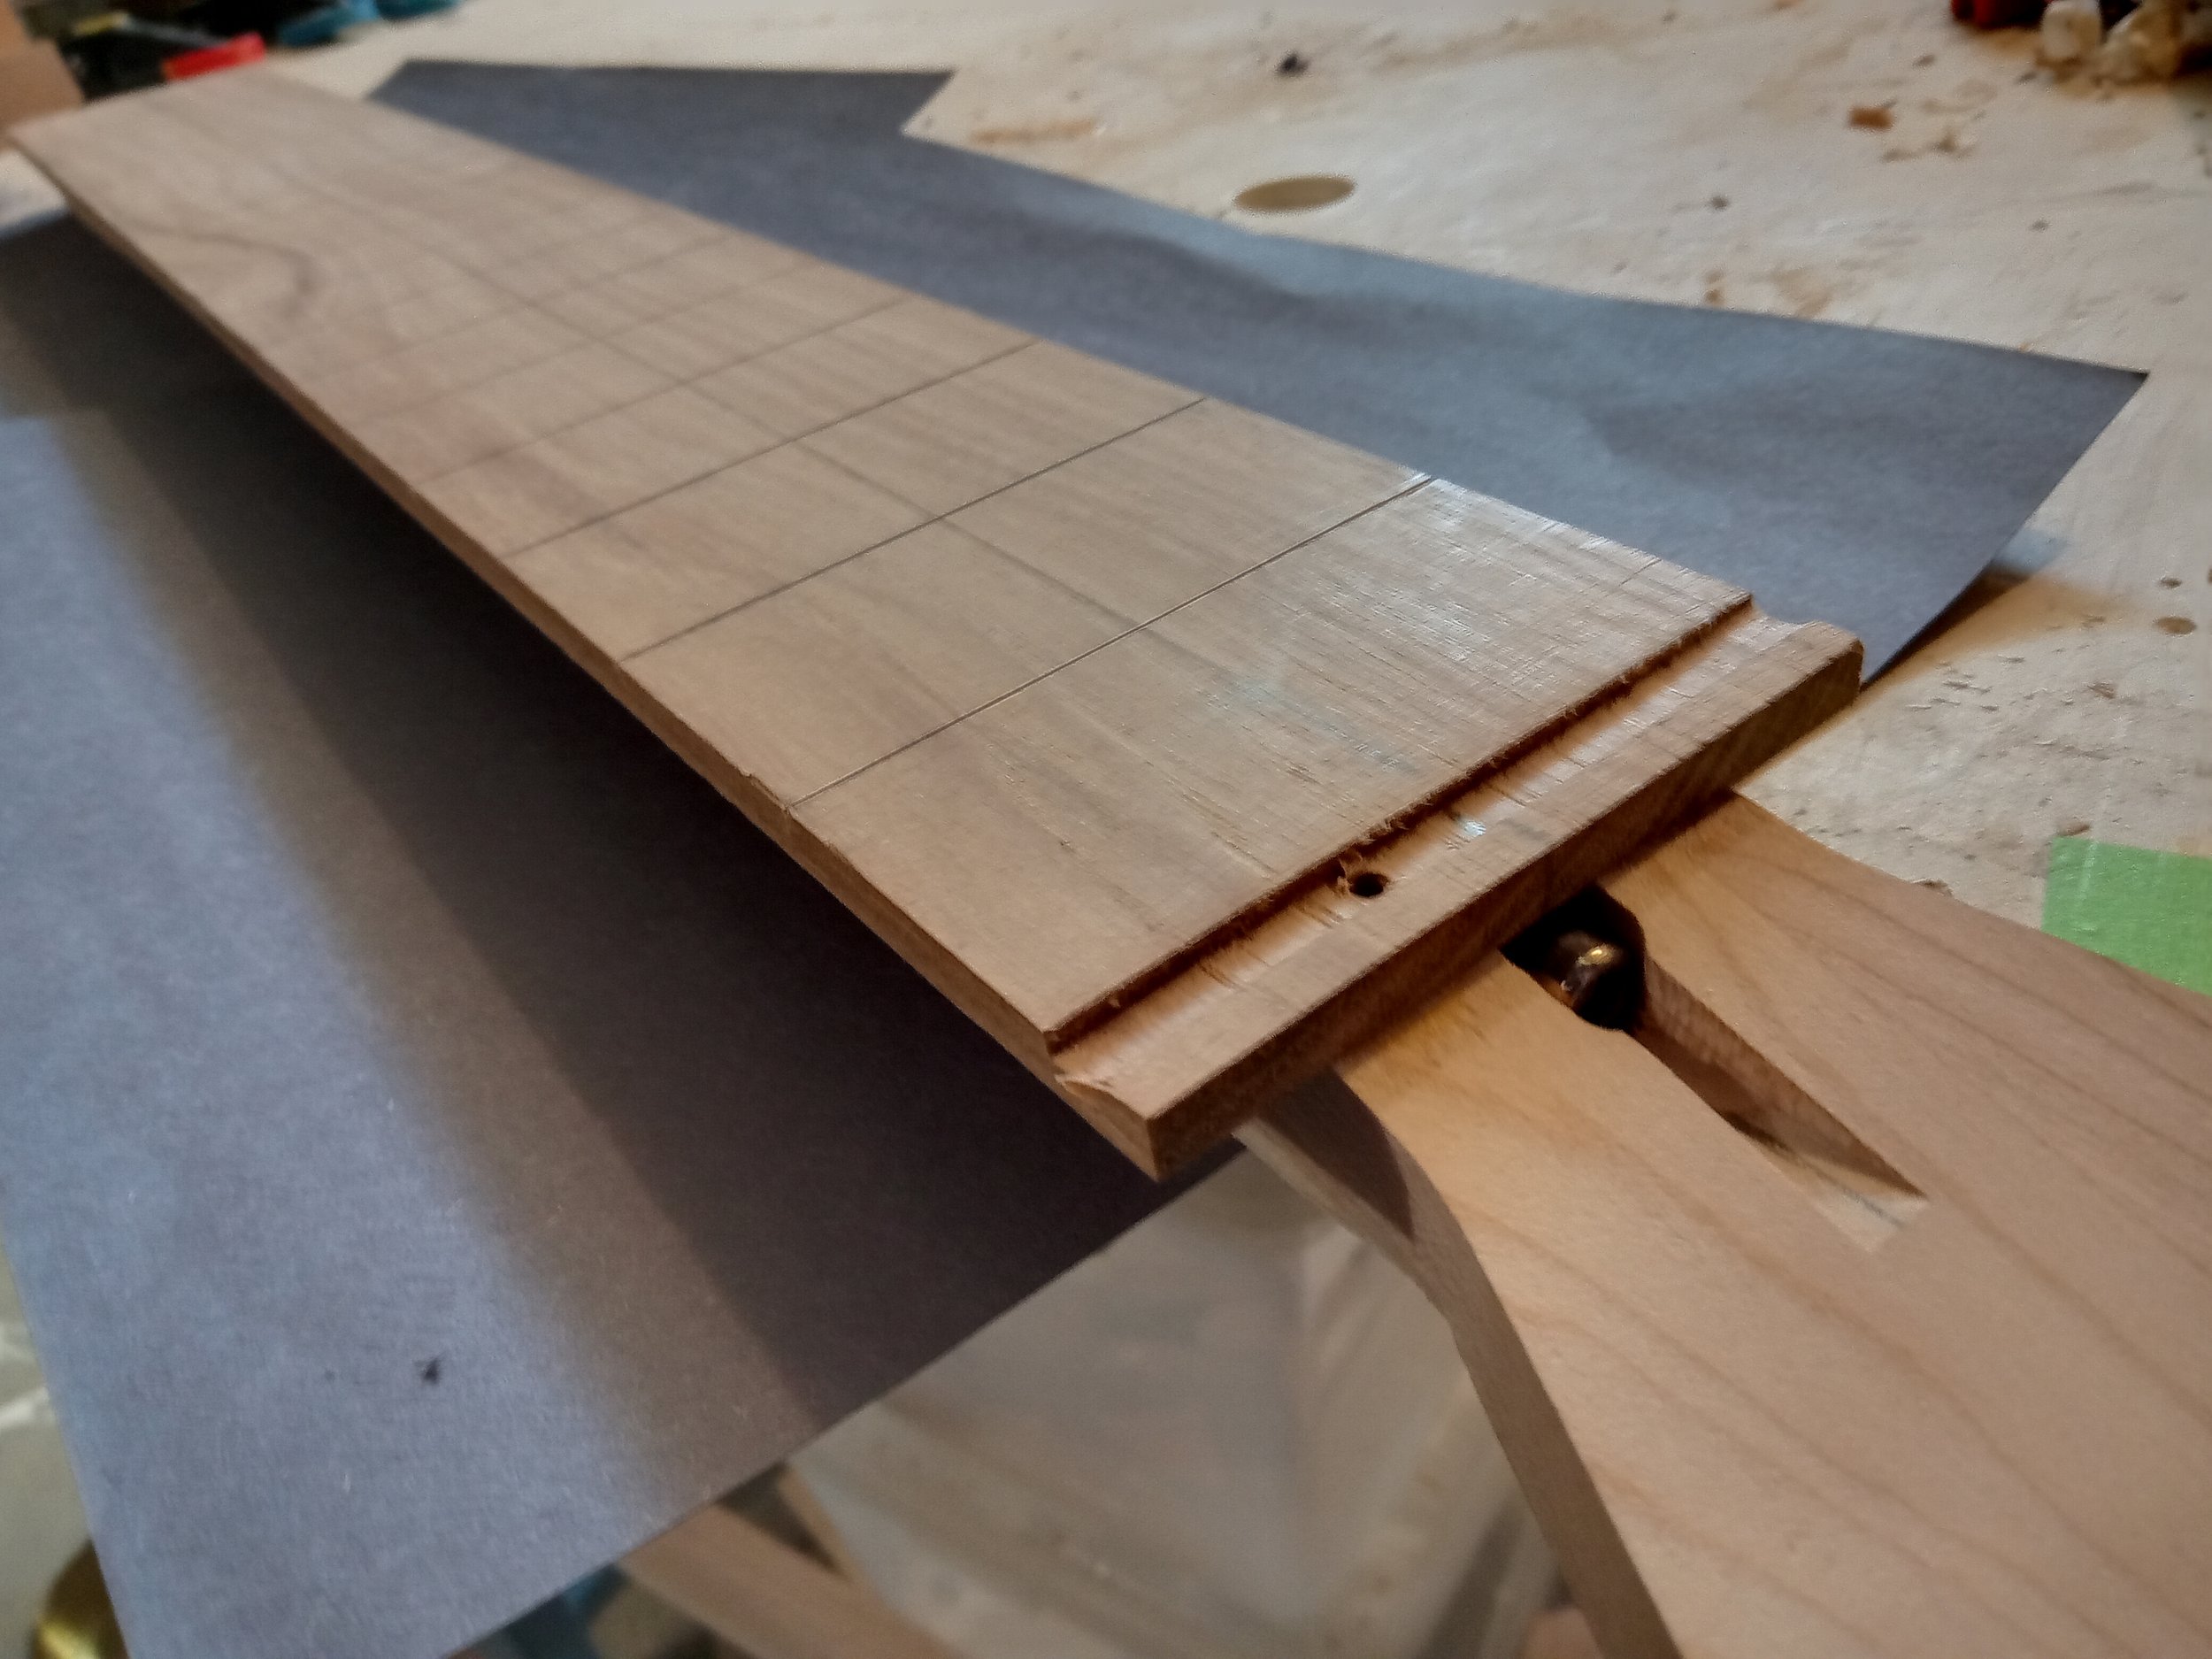
I found this new technique incredibly effective. The technique involves spreading the paint over the guitar body with a scraper that just barely skates over the surface. Then I use a brush to further spread out the paint. The way the paint gets controlled as it's put on here makes it super thin. Perfect for preventing runs. The new technique also makes the whole process much faster. While this technique excels in many areas, I've also encountered some challenges, particularly when dealing with the intricate nooks and crannies inherent to my guitar bodies. In these instances, my focus intensifies as I strive for perfection. For this particular build, I chose red as the vibrant color scheme – not only does it catch the eye in a pleasant way, but it's also my personal favorite.On days when I stepped away from painting and bodywork, I'd turn my attention to crafting the guitar neck – one of the most challenging and precise elements of the entire instrument. My approach began as always: setting up the blank and marking its center line. Followed by countless measurements, ensuring every detail was accounted for before I proceeded.
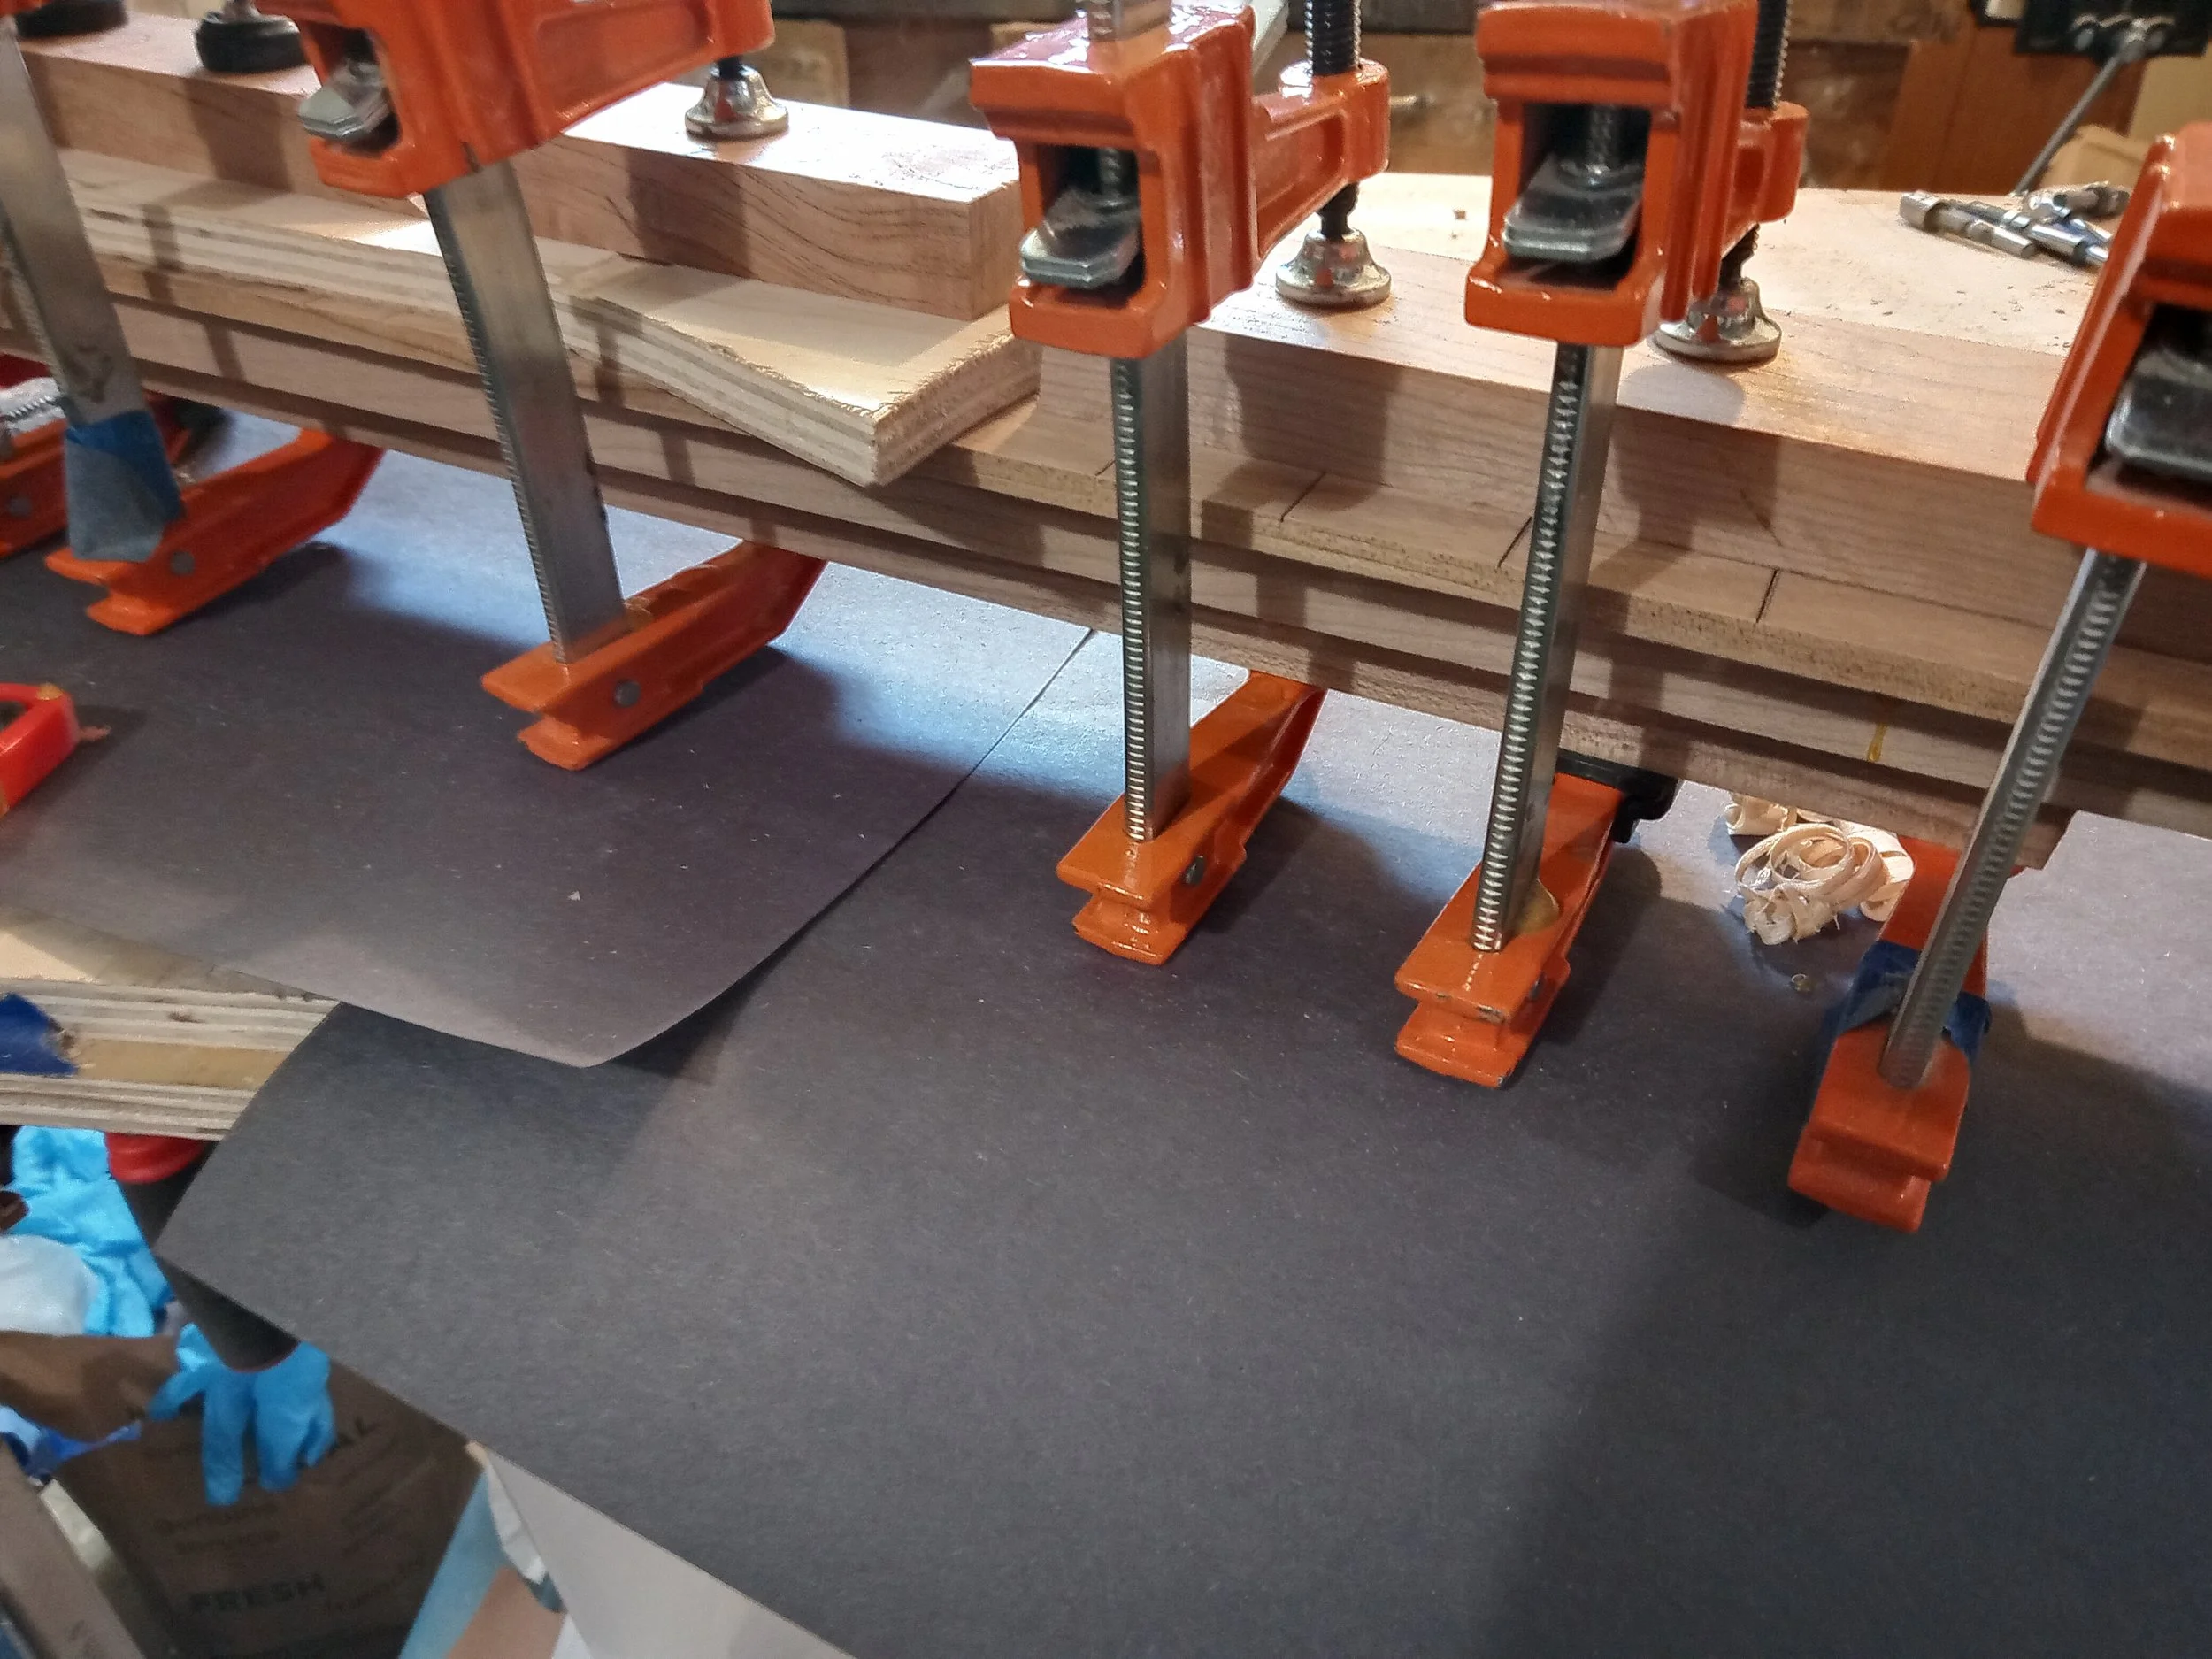
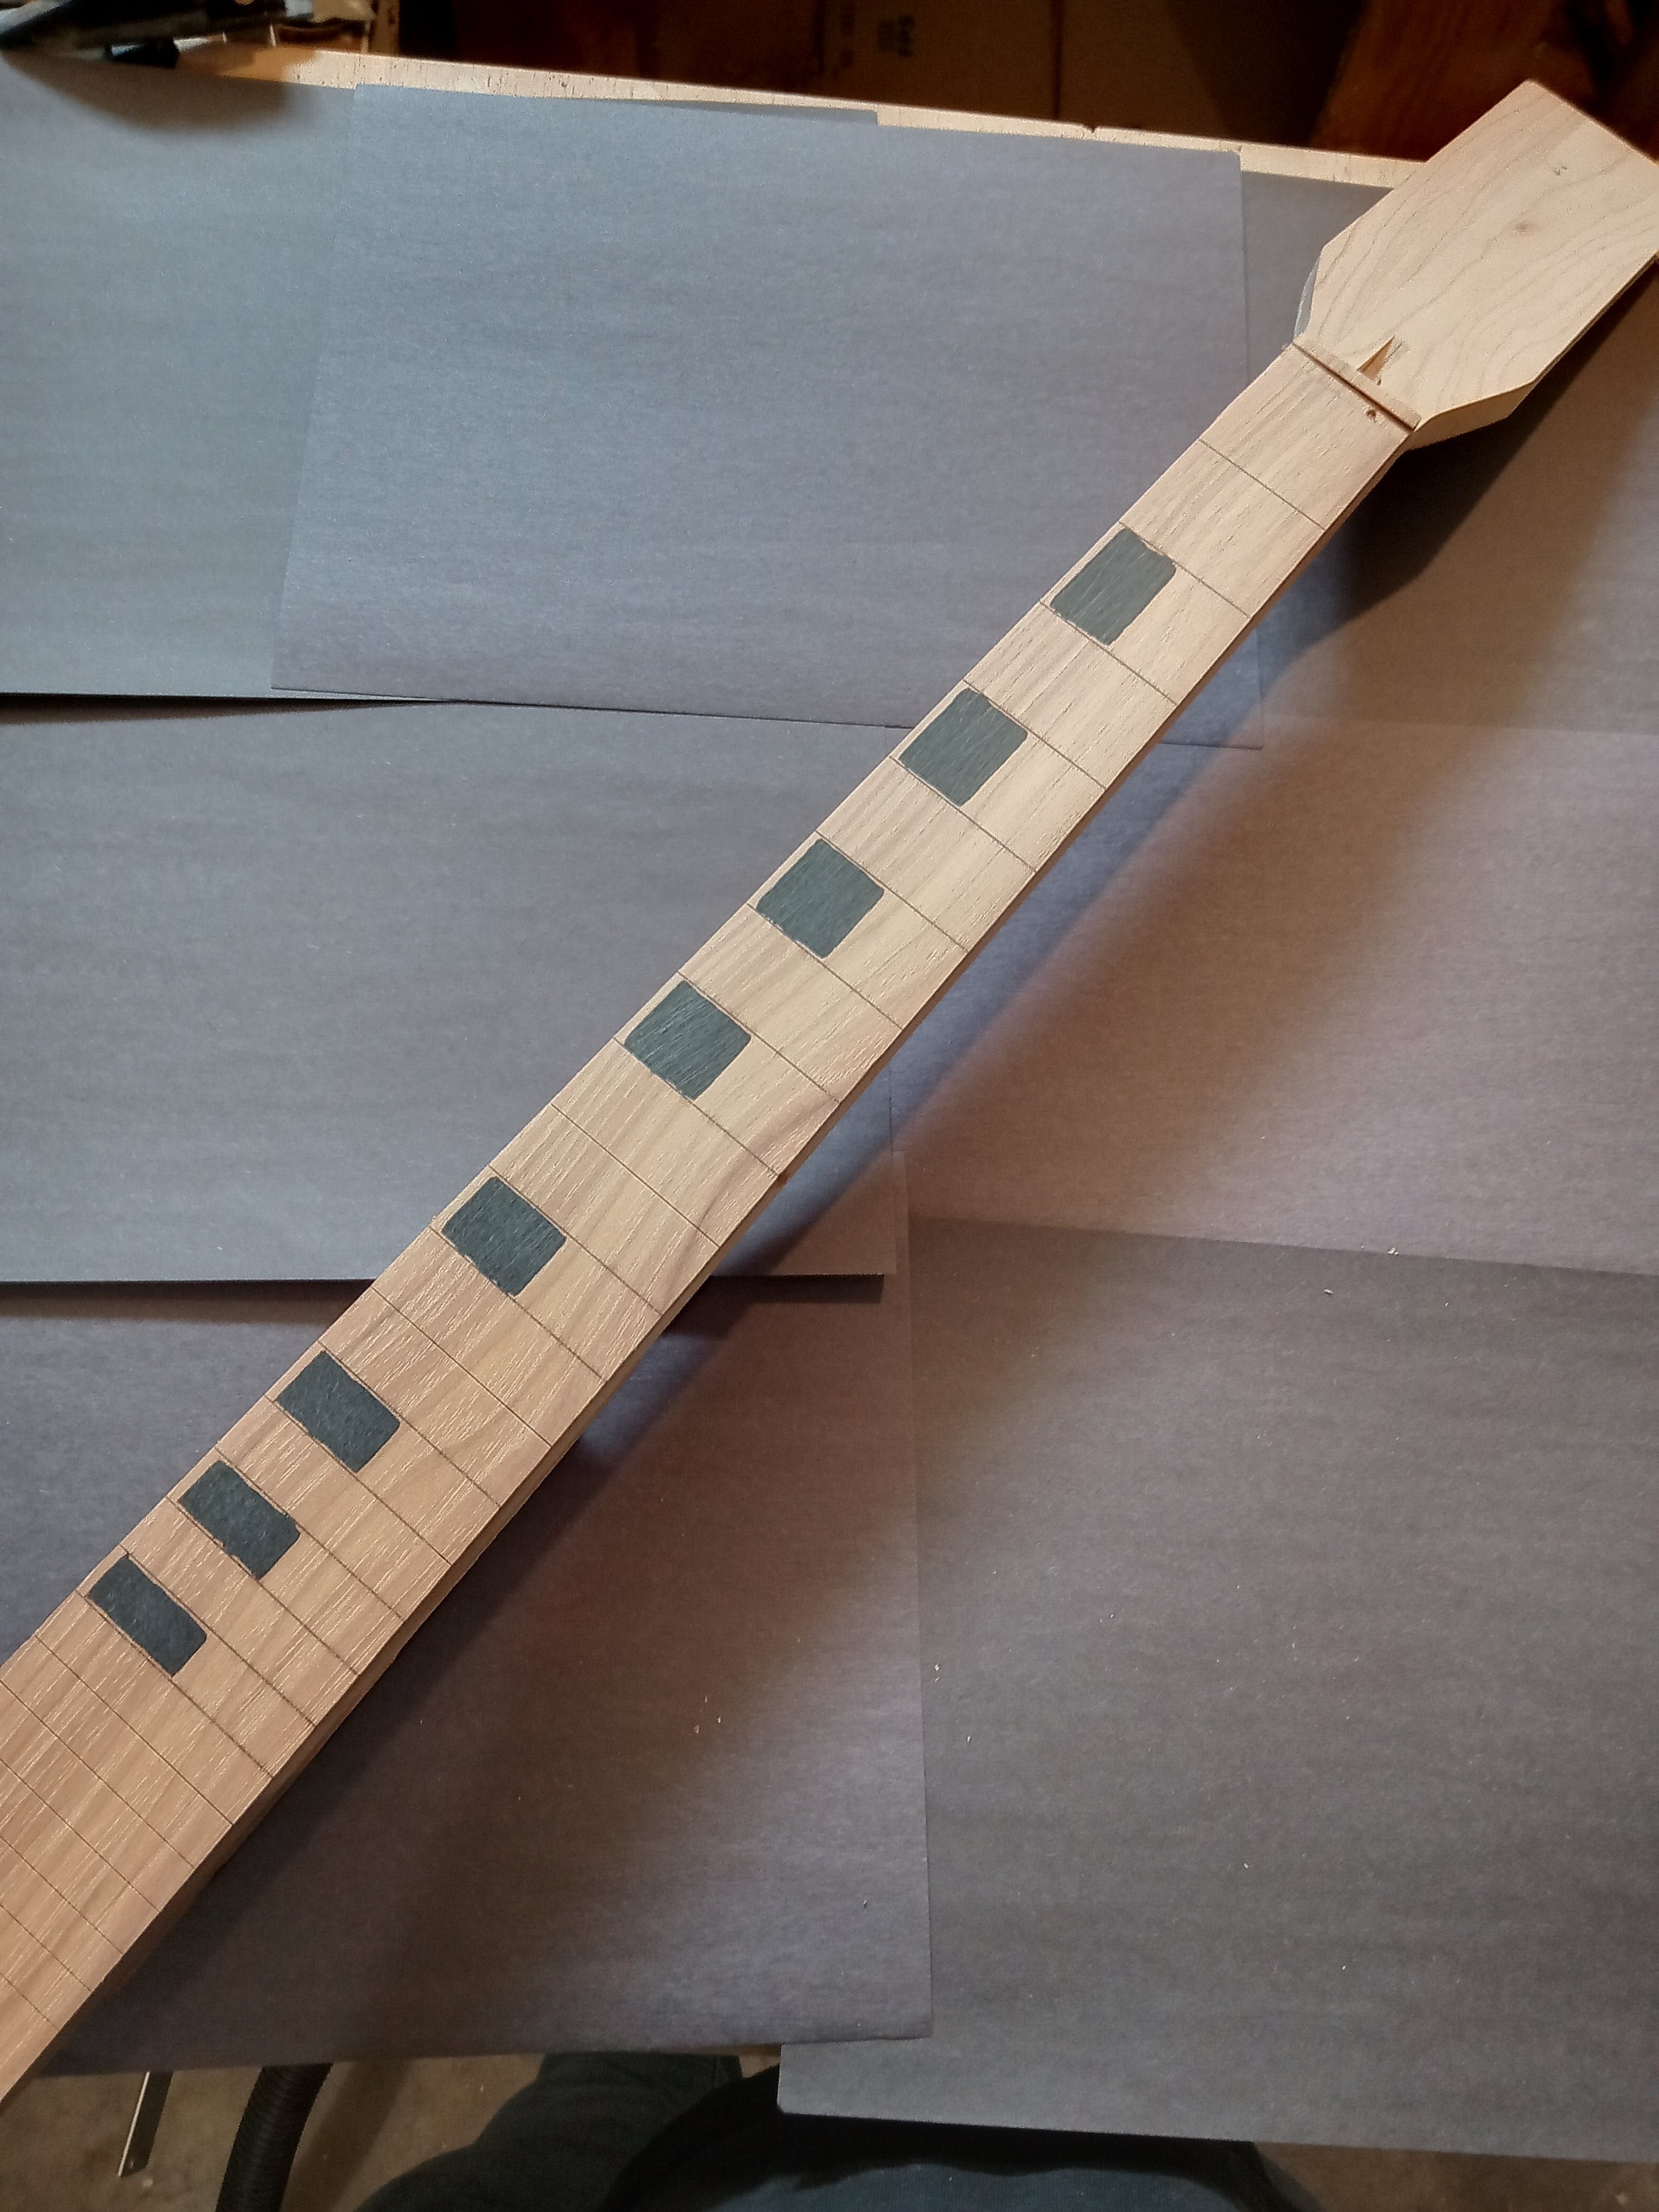
With precision in mind, I used a router to cut a channel down the center of the blank – the space that would eventually house the truss rod, playing a crucial role in maintaining the neck's straightness and stability. Once this foundation was established, I placed the blank within my custom-made jig, designed specifically for cutting scarf joints. This wonderful tool has proven invaluable time and again, streamlining an otherwise cumbersome process.
As the final stage before assembly, I inserted pins to maintain alignment between the neck and head-stock. This prevents any sliding or slipping that could occur when applying the glue later on. I always do a dry fit before I glue anything. Once I’m happy with everything the glue goes on. This methodical approach ensures the precision I’m always striving for.
This build is still on going. I'll post more of it here later. Also this guitar will be for sale in the future.